Table of Contents
Setting up Visual Studio Code with Fabric
A few plugins are recommended to ensure that you get the best experience possible. You only need to install these once.
Note that the plugin “Language Support for Java(TM) by Red Hat” requires Java 17 or higher. See JDK Requirements for more information.
Importing a project
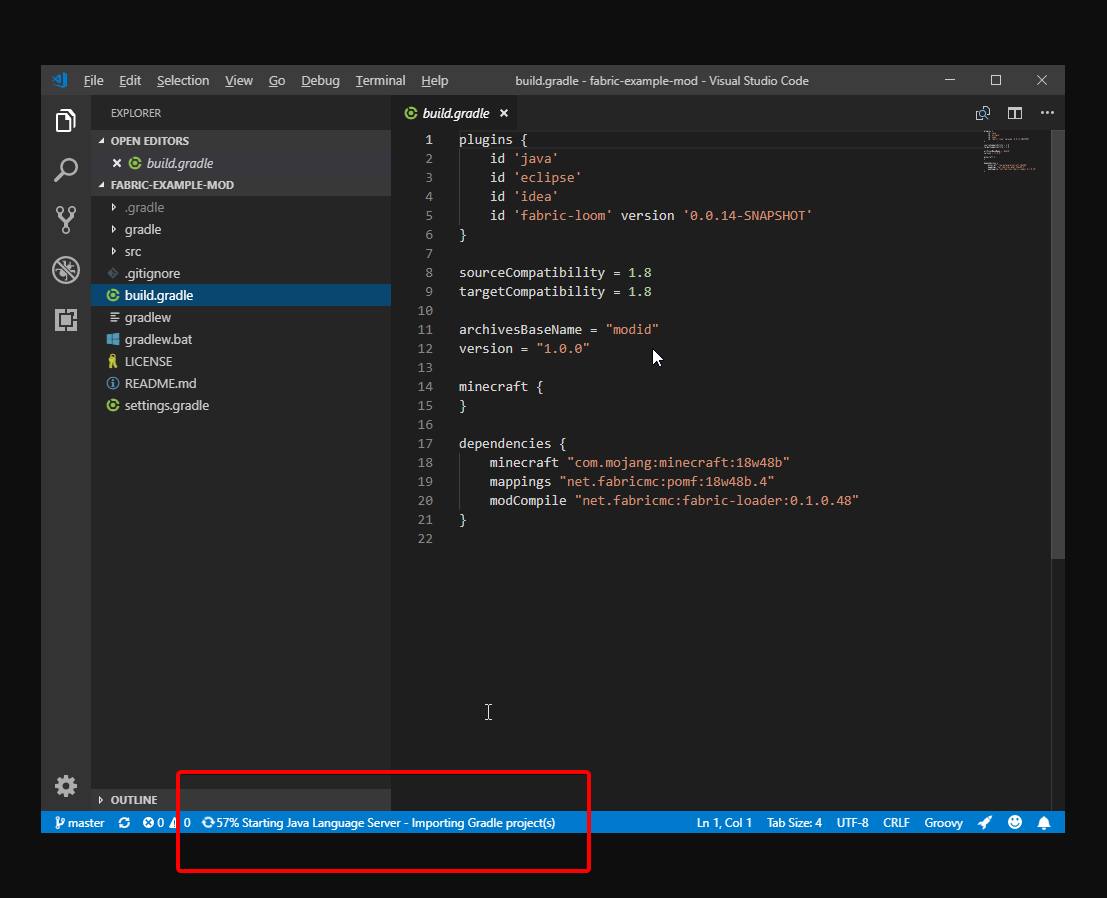
Clone the project into a folder and then open the folder in Visual Studio Code. The IDE should then start importing the Gradle project (if it does not start after about 30 seconds, open the build.gradle file).
Once this has completed, code completion for game engine code should be present, which should be helpful in mod development.
Generating run configurations
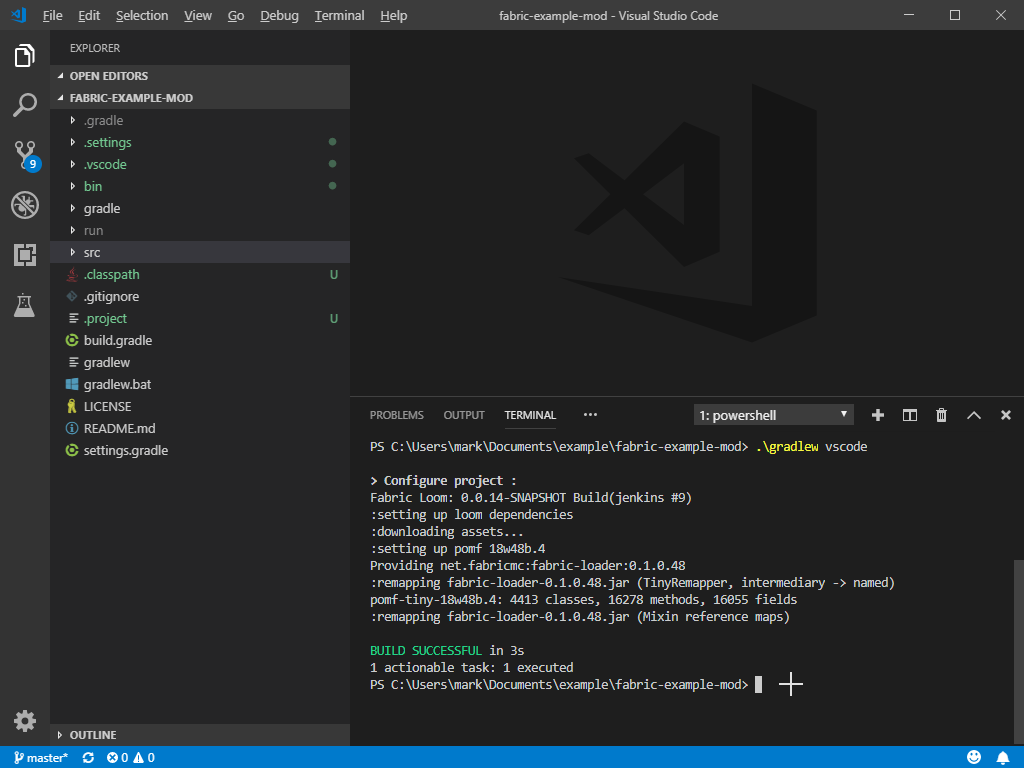
To run the game with debugging support enabled you will need to generate the run configs. This can be done by running the Gradle vscode task. One way to open a terminal window is to go to View → Terminal. This will then open a Terminal pane in the project directory open. Next, run ./gradlew vscode - this will automatically generate the necessary launch.json file containing the run configs.
Finally, to launch the game, select the debug menu item on the left taskbar. This will then build your mod and launch the game.
Generating minecraft source
If you want to browse the Minecraft source you can use the Gradle genSources task. This can be done by running the following command in your terminal ./gradlew genSources.
Next, you will need to refresh your Java project, this can be done by pressing Shift + Alt + U while having the build.gradle file open.
To search for Minecraft classes you can open the search pane with Ctrl + P, prefix your searches with # to search for the Minecraft classes.


