
This is an old revision of the document!
Table of Contents
Install/Verify Java (Windows)
You will need Java installed if you want to:
- run the current version of the Fabric Installer
- use MultiMC
- change the default “JAVA EXECUTABLE” to other than the bundled Java runtime in a Minecraft Launcher “Installation”
Minecraft 1.17 and higher uses Java 16. If you want to run MC 1.17 download Java 16, not Java 8.
Video Tutorial

STEP 1: Verify if Java is already installed
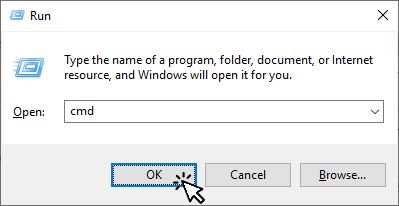
Open the Run dialog by using the Windows+R hotkey. Enter cmd in the textbox and click OK This will open a command window.
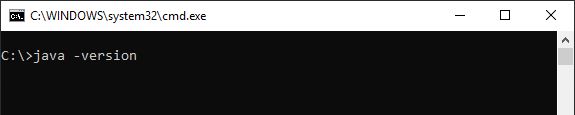
In the command window type java -version and press Enter
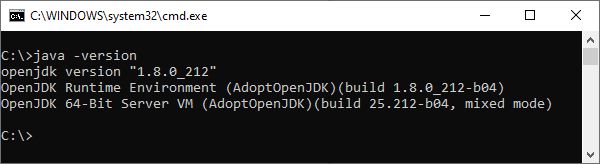
If Java is already installed you will see something like this:
STEP 2: Uninstall previous Java versions
If you already have Java installed and you want to update/replace it, you may want to uninstall any Java version(s) installed in your system using the Operating System normal procedure for uninstalling programs.
STEP 3: Install Java
To download the Java installer, go here
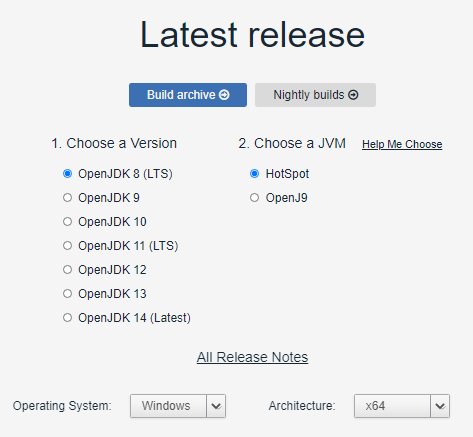
For better compatibility with Minecraft versions older than 1.17, pick Version 8 of the JRE, for Minecraft 1.17 and newer pick Java 16. Download the x64 version of the installer for your operating system:

Open the JAVA installer you just downloaded:

When installing Java, change the way features will be installed:

Set the following features to “Entire feature will be installed on local hard drive”:
- Set JAVA_HOME variable
- JavaSoft (Oracle) registry keys

Finish the installation, then go back to STEP 1 to verify that Java was installed correctly.