This is an old revision of the document!
Table of Contents
Добавление предмета
Введение
Добавление простого предмета - один из первых шагов в создании модов. Вы собираетесь создать объект Предмет, зарегистрировать его и дать ему текстуру. Чтобы добавить дополнительное поведение предмету, вам необходимо сделать ваш собственный класс предмета. В этом и следующих туториалах пространство имён “tutorial” используется как образец, Если у Вас есть отдельное modid - не стесняйтесь использовать его вместо “tutorial”.
Регистрация предмета
Для начала создайте экземпляр предмета. Мы поместим его на верх нашего класса инициализатора. Конструктор принимает в себя образец Item.Settings (или FabricItemSettings), который используется для задания свойств предмета, таких как категория (в творческом меню), прочность и размер стака.
Вы будете использовать классическую систему регистрации нового контента. Вот базовый синтаксис Registry#register(Registry Type, Identifier, Content). Типы регистрации хранятся как статические типы в классе Registry, и идентификатор обозначает ваш контент. Контент - это экземпляр всего, что вы добавляете. Он может быть вызван в любой момент во время инициализации.
Теперь Ваш предмет добавлен в Minecraft. Нажмите задачу Gradle runClient, чтобы увидеть его в действии
Добавление предмету текстуры
Для регистрации текстуры необходимы .json файл модели и изображение с самой текстурой. Вам нужно поместить их в папку с ресурсами тут:
  Модель предмета: .../resources/assets/tutorial/models/item/fabric_item.json
  Текстура предмета: .../resources/assets/tutorial/textures/item/fabric_item.png
Примеры наших текстур находятся здесь.
Если Вы зарегистрировали Ваш предмет правильно в начале, игра сообщит Вам о том, что не может найти текстуру подобным образом:
[Server-Worker-1/WARN]: Unable to load model: 'tutorial:fabric_item#inventory' referenced from: tutorial:fabric_item#inventory: java.io.FileNotFoundException: tutorial:models/item/fabric_item.json
It conveniently tells you exactly where it expects your asset[s] to be found– when in doubt, check the log.
A basic item model template is:
{
  "parent": "item/generated",
  "textures": {
    "layer0": "tutorial:item/fabric_item"
  }
}
Parent указывает, как предмет должен отображаться в руке, это полезно для таких вещей, как предметы блоков в инвентаре. “item/handheld” используется для инструментов, которые держатся за нижний левый угол текстуры. textures/layer0 это расположение файла с картинкой.
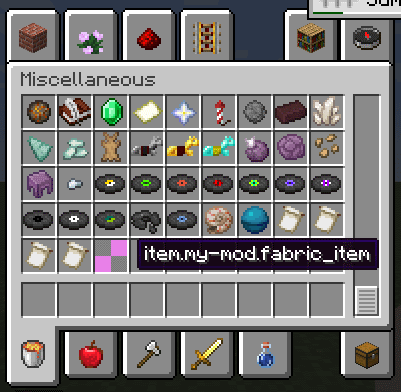
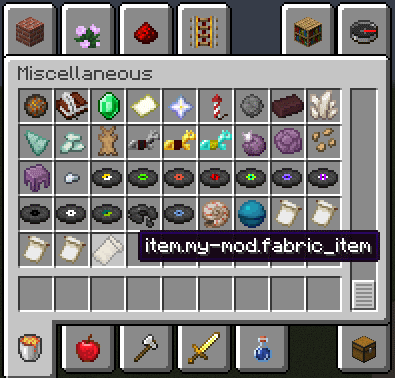
Конечный текстурированный результат:
Creating an Item class
To add additional behavior to the item you will need to create an Item class. The default constructor requires an Item.Settings object.
A practical use-case for a custom item class would be making the item play a sound when you use it:
Replace the old Item object with an instance of your new item class:
If you did everything correctly, using the item should now play a sound.
What if I want to change the stack size of my item?
For this you would use maxCount(int size) inside FabricItemSettings to specify the max stack size. Note that if your item is damageable you cannot specify a maximum stack size or the game will throw a RuntimeException.


